Family favorites you might enjoy too.

A few weeks ago I saw a video going around on Facebook, in which a woman demonstrated how to make cream cheese.

The cheese she was actually making was either ricotta or queso (depending on how stringy it turned out). I don’t know how many times I’ve made ricotta cheese using the exact method she described. It’s simple. It’s quick. I’ve used it for lasagne and for any recipe that calls for cottage cheese.

But it’s not cream cheese.

Technically, to make cream cheese (or any cheese for that matter, with the exception of ricotta and mozzarella) you need a specific culture to get it going. “Culture”=bacteria that grows in the cheese and hardens it. 

Yogurt is also cultured. Again, it’s not the same culture as cream cheese but it’s much closer than the method used by the woman in the video.

How to Make Cream Cheese

1. Make or buy yogurt.
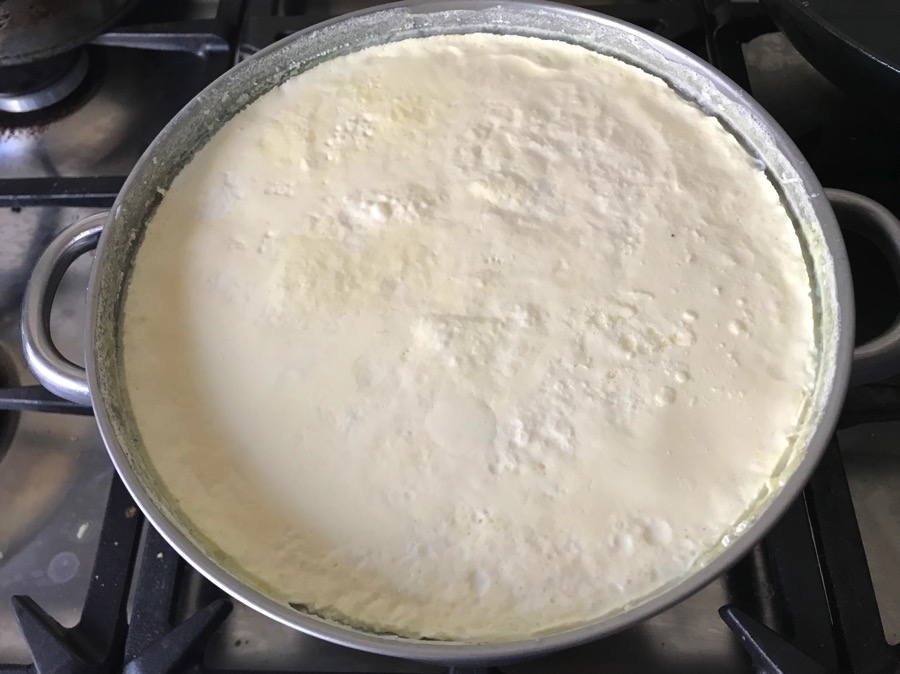
How to Make Cream Cheese 1

As I posted on my blog a few days ago, yogurt making is quite simple.

2. Strain the yogurt until it’s thick.
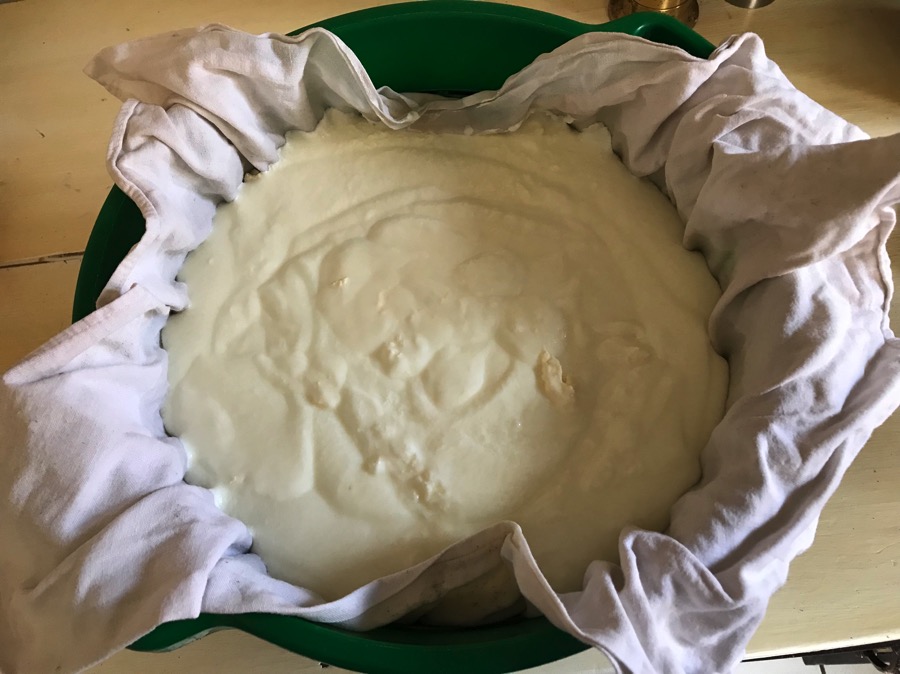
How to Make Cream Cheese 2

I put mine through a tea towel lining my strainer. Basically, I dump the yogurt into the tea-towel-lined strainer, suspend that in a pot to catch the whey, and stick it in the fridge.

And forget about it for a couple days.

That’s it. 

It produces a by-product called “whey” which you can use for many things (in place of water in bread for higher protein content; we save it when we want to cure a corned beef because it acts like a meat tenderizer), or just pour it down the drain. 

The finished product looks and tastes like cream cheese.
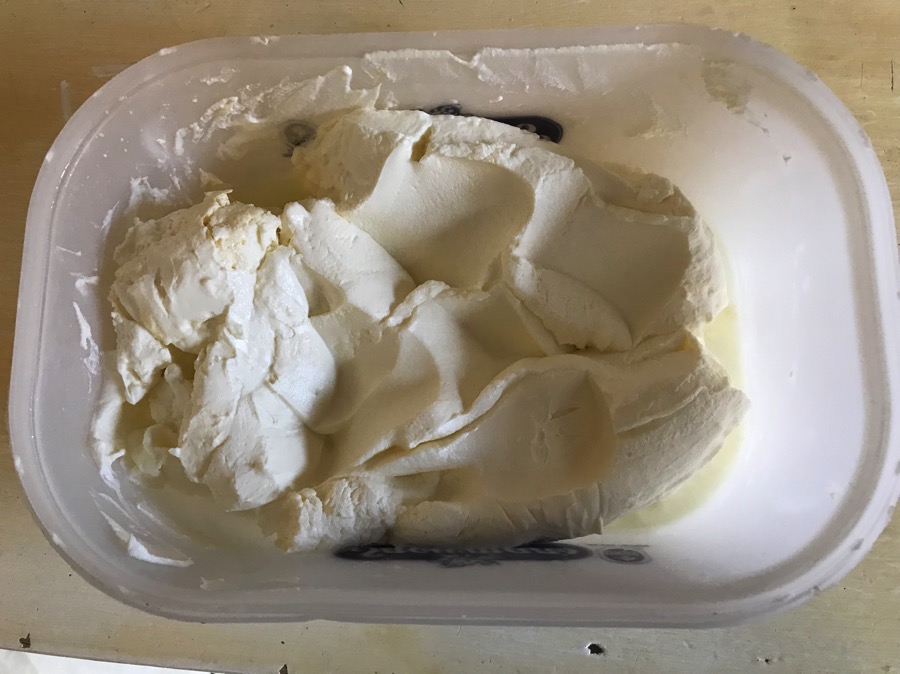
How to Make Cream Cheese 3

I’ve used it to make cheesecakes, to spread on toast, or for any recipe that calls for cream cheese.

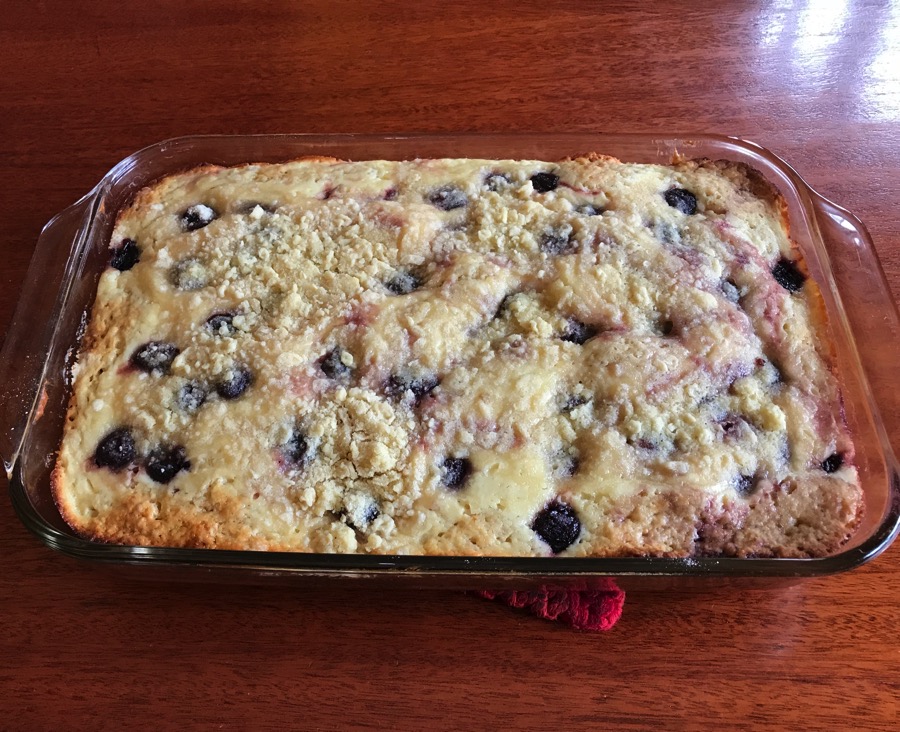
Here is one of our favorite cream cheese recipes. It calls for several of the milk by-products we make: butter, yogurt/sour cream, and cream cheese. I hope you try it and enjoy it as much as we have!
How to Make Cream Cheese 4

Creamy Fruit Preserve Coffee Cake

  • 2-1/4 cups flour
  • 3/4 cup sugar
  • 3/4 cup cold butter (I soften it to room temperature)
  • 3/4 cup sour cream (I use plain yogurt)
  • 1/2 teaspoon baking powder
  • 1/2 teaspoon baking soda
  • 1 egg
  • 1 teaspoon almond extract (I use vanilla extract.)

In a mixing bowl, combine the flour and sugar; cut in butter until mixture resembles coarse crumbs. Set aside 1 cup for topping. To the remaining crumb mixture, add the remaining ingredients. Press into the bottom and 2 inches up the side of a 9 inch spring form pan. (I use a 9×13 baking dish.)

Filling:

  • 8 oz. cream cheese softened
  • 1/4 cup sugar
  • 1 egg
  • 3/4 cup fruit preserves (peach, cherry, apple, blueberry, strawberry)
  • 1/2 cup sliced almonds (optional)

Combine the cream cheese, sugar, and egg. Spoon over prepared crust. Spread the preserves evenly over this. Top with almonds (optional) and reserved crumbs.

Bake at 350 degrees for 45-50 minutes or until filling is set and crust is golden brown. If using springform pan, cool for 15 minutes and then remove the side of the pan. Cool completely before serving.

It’s super easy to make homemade yogurt. There’s no better way to get this cultured staple preservative-free than to make it yourself.

I started making yogurt before we ever came to Africa. We were able to get milk from a local farm. I’d found directions for making yogurt in a book I read and decided to try it out with the fresh milk. It turned out the first time!

Yogurt making is now a normal part of our weekly ritual. It takes time, but not much supervision. Most of the process is just letting the bacteria do its work to change the milk to yogurt. You don’t need any special equipment.

You’ll need:

  • a pan with a lid in which to heat the milk and leave the yogurt until it has cultured
  • a wooden spoon
  • plain yogurt to use for a starter
  • a towel (optional)
  • flavoring (optional – see below)

How to Make Homemade Yogurt in 5 Easy Steps

1. Boil the milk.

How to Make Yogurt 1

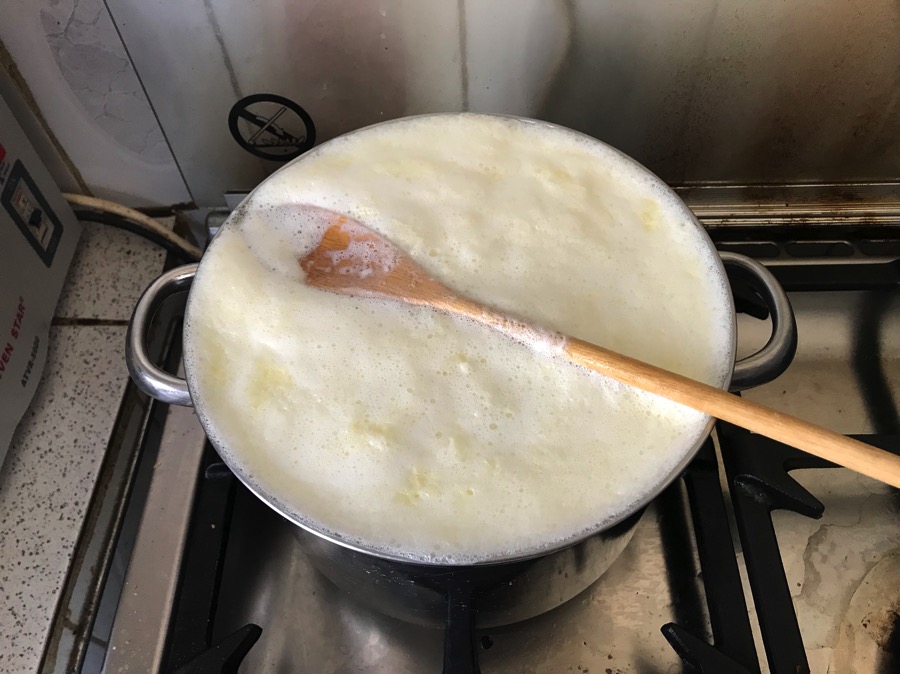
It doesn’t need a hard boil, but it won’t hurt if it boils hard. You know what they say about watched pots. I can watch it simmer but not boil for 10 minutes, then leave or turn my back for one second and the milk boils over. *sigh*

This is the first place the wooden spoon comes in handy. If you lay the spoon on top of the milk, it breaks the surface tension and the milk tends not to boil over as easily.

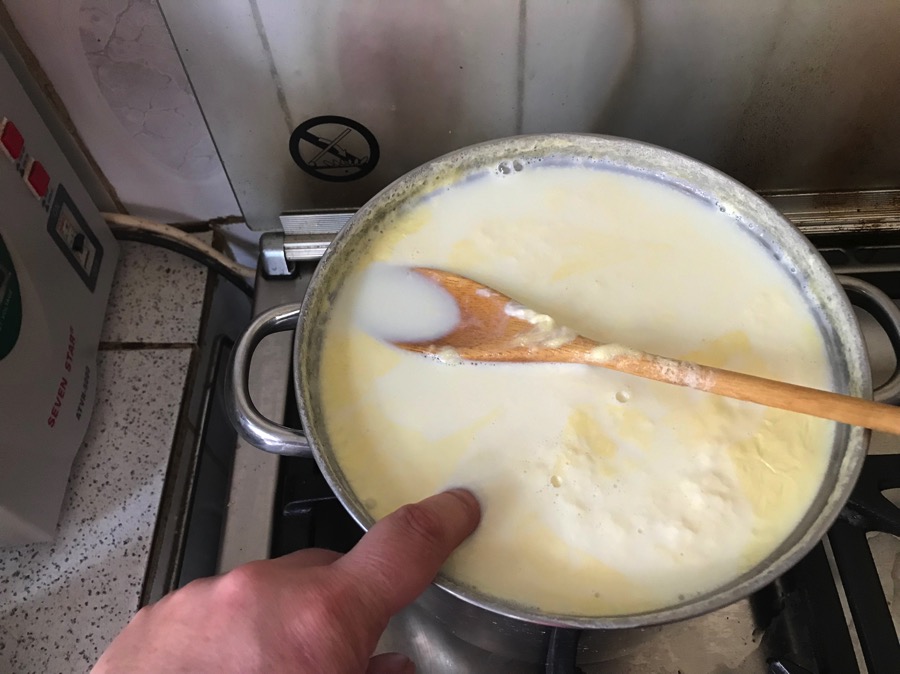
2. Cool the milk until you can hold a finger in it for 10 seconds or longer.

How to Make Yogurt 2

If your milk is too hot, it will kill the culture on the yogurt starter. The milk is cool enough when you can hold your finger in it for several seconds. The cooling part takes longer than the boiling part. I come back and stir it on a regular basis (use the wooden spoon for this) and only test it when I can touch the outside of the pan without it burning me.

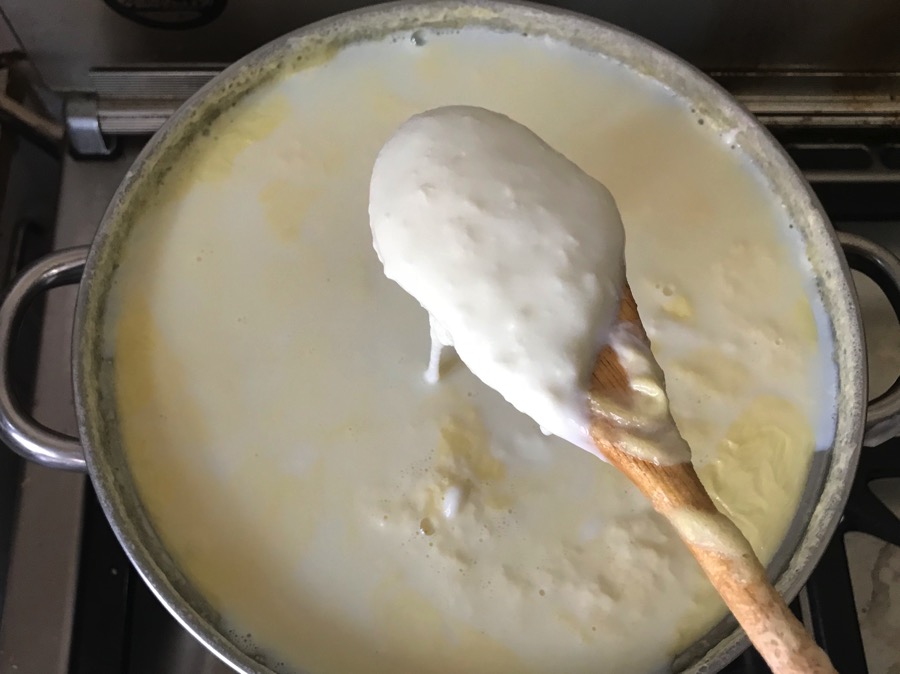
3. Add yogurt starter to the milk and mix thoroughly.

How to Make Yogurt 3

6-8oz. of plain yogurt is enough for a starter – in other words, it’s enough to start the culturing process. Once you’ve added the starter, mix it into the milk until it’s smooth and there are no chunks.

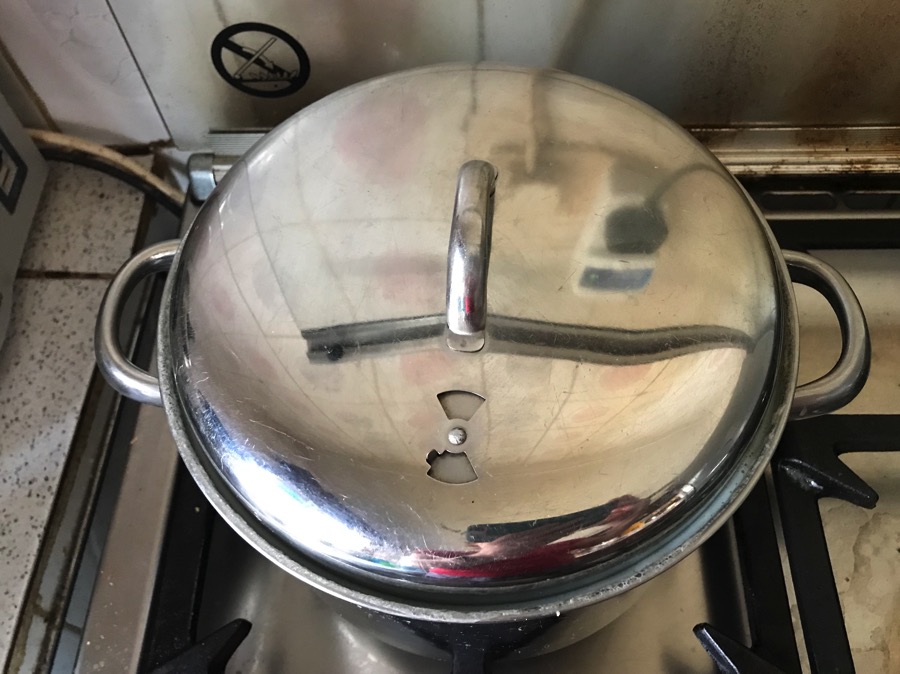
4. Cover and let it set for 6-12 hours.

How to Make Yogurt 4

I leave mine sitting on the back of the stove but my kitchen stays around 80 degrees during the day. If your kitchen is cooler, place the pan with the yogurt inside the oven (oven turned off). This helps it maintain its heat. You can even set the yogurt on the counter or table or the top of the fridge wrapped in a towel. 

You don’t have to check it or stir it. In fact, you don’t want to disturb it any more than necessary.

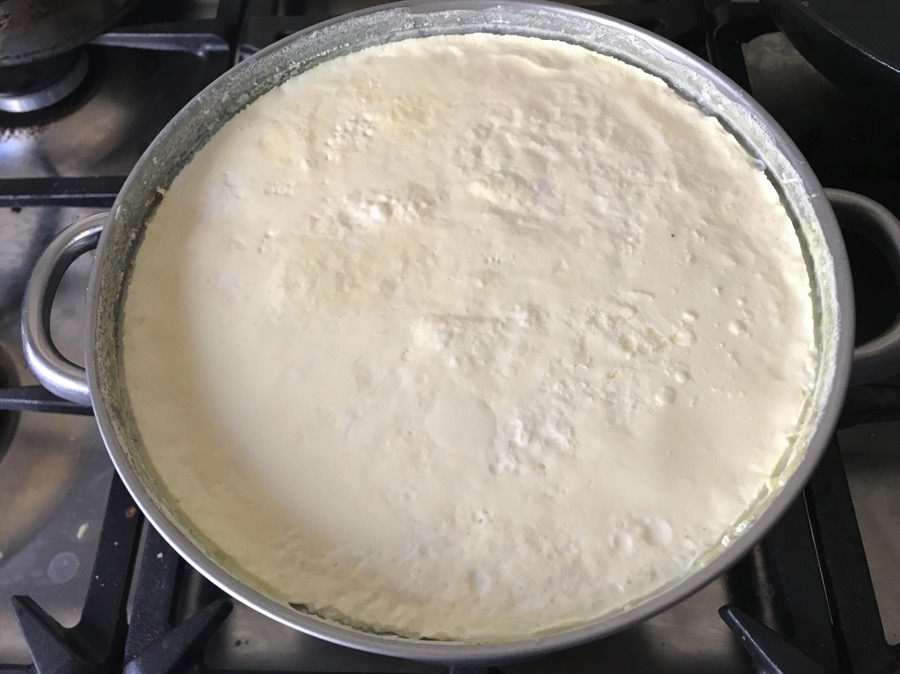
5. Refrigerate.

How to Make Yogurt 5

I leave mine out to culture for 8-10 hours (usually closer to 8) and it’s nice and thick. The longer you leave it out, the thicker it gets, but it also gets more sour (sourer?). We use it in place of sour cream, so we don’t mind it being a little tart. But you can overdo it.

What if you forget and it sits out longer? It’s yogurt. It might be very sour or tart, but you can still use it. I’ve left mine sitting out overnight and it was still okay the next day.

Additions:

  • For sweetened yogurt, add honey to taste as the milk is cooling. Stir with the wooden spoon until the honey is completely dissolved.
  • Add fruit to the yogurt when you refrigerate it or as you serve it. 

Questions? Feel free to contact me with them. I can’t promise I can help but I’ll do my best. Have you made yogurt before? How did it work? I’d love to hear from you!

I mentioned in my post about our trip to Kampala, how much we love Chinese food. There are three types of food on this earth — Chinese food, Mexican food, and everything else. 

I started collecting recipes for our favorite Chinese dishes before we ever had plans to move to Africa. I was thankful I had done this because we discovered the town we live in here has very little variety in food. You can get Central Asian food (Indian), and African food. There are a few places that serve African variations on American dishes that are quite good, but it isn’t the same.

I thought I’d share the recipe for one of my favorite Chinese dishes, Sweet and Sour Chicken (or Pork). It’s fairly simple to make and I’ve adapted it to be easier to fix than if you follow the recipe exactly. I’ll share that below. For now, the recipe as it appears in my book Enjoy Chinese Cuisine, by Judy Lew.

Sweet and Sour Chicken

Sweet and Sour Chicken (or Pork)

  • 2 Chicken breasts (or 1/2 pound pork cubes
  • 1 teaspoon salt (I omit)
  • 3 cups oil for deep frying

Batter:

  • 1/2 cup flour
  • 1/4 cup corn starch
  • 1 teaspoon baking powder
  • 1/2 teaspoon baking soda
  • 3/4 cup cold water

Sweet and Sour Sauce:

  • 3/4 cup water
  • 2 Tablespoons corn starch
  • 2 Tablespoons rice vinegar (I use regular vinegar and it works fine)
  • 3 Tablespoons ketchup 
  • 2/3 cup sugar

Garnish:

  • 1 tomato wedged (I omit)
  • 1 small green pepper, wedged
  • 1/2 cup pineapple chunks
  • 1 teaspoon sesame seeds (I omit)
  • 1 small onion sliced
  • 1 small carrot sliced

Dice the chicken or pork. Mix together the ingredients for the batter. Dredge the chicken or pork pieces through the batter, then fry them in the heated oil until crispy and done (about 4 minutes). Drain onto a paper towel.

Combine sauce ingredients in a small saucepan. Mix together until boiling and thick, stirring constantly. 

Arrange chicken and veggie pieces together in a bowl, sprinkle with sesame seeds and pour the sauce over it. Serve with rice.

When I fix it for us, I don’t make the batter or fry the chicken/pork. I sauté the meat until completely cooked, then add the veggies and sauté those until they are tender (add the carrot first, onion last). I don’t usually put pineapple chunks or tomatoes in ours because I don’t like the flavor.

The sauce is good enough to make and keep around for using on other things. I love its flavor! I have to triple the recipe for us but I don’t triple the sugar in the sauce and it still tastes fine.

I hope you try it and enjoy it! Let me know how it turns out!

Thanksgiving wouldn’t feel right without pies. Growing up, we’d bake as many as 15 pies for the holiday. Whenever my dad would remind us that this was almost 2 pies each, we’d stop to consider this fact and then keep baking anyway. We’d have leftovers for a week.

I don’t make that many pies anymore. We usually whittle it down to three or four kinds we love most and that’s what we have for Thanksgiving.

Here are recipes for our three most requested pies and the pie crust recipe I use. 

I’ve never been good at pie crusts. That’s why I was so happy to get this recipe for shortbread crust in my family and friends cookbook. I use it without sugar for all my savory pies (we like quiche, shepherd’s pie, and chicken pot pie).

Shortbread Pie Crust

  • 1-1/2 cups flour
  • 1-1/2 tbsp sugar (may omit)
  • 1/2 tsp salt
  • 2 tbsp milk
  • 1/2 cup oil

Mix together with a fork until moistened. Press into the bottom of two 9 inch pie plates. Prick the bottom of the crust if pre-baking (10 minutes at 400°). Otherwise add filling and bake according to pie recipe directions

IMG 4471

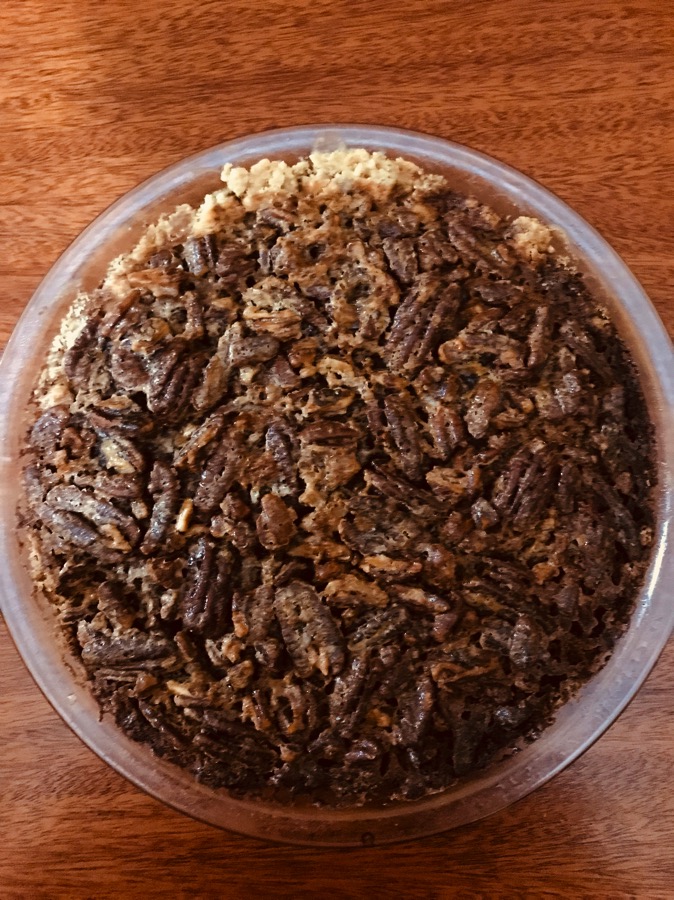
The first year we were in Africa, I realized I couldn’t get corn syrup. My husband loves pecan pie and his parents had sent us some just for Thanksgiving pies. A friend who was a missionary in Russia at the time gave me her recipe for Pecan Pie made with sugar instead of corn syrup. We all think it tastes better.

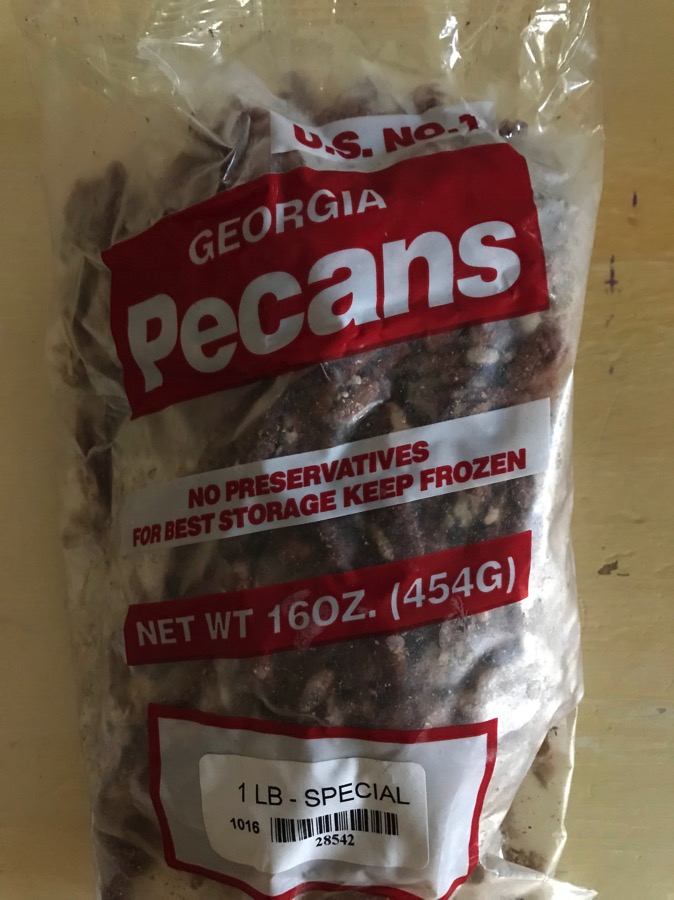
We have to bring our pecans from the US. This year I’m using pecans I got in Georgia last year while we were on our way to visit my sister — and driving straight into Hurricane Matthew. 

IMG 5961

Pecan Pie

  • 1 cup light brown sugar
  • 1/4 cup white sugar
  • 1/2 cup butter
  • 2 eggs
  • 1 tbsp all purpose flour
  • 1 tbsp milk
  • 1 tsp. vanilla
  • 1 cup chopped pecans

Place in a 9 inch pie crust. Bake at 350° for 1 hour.

IMG 4469

Pumpkin Pie

  • 2 eggs
  • 2 cups pumpkin
  • 3/4 cup sugar
  • 1/2 tsp. salt
  • 1 tsp. cinnamon
  • 1/2 tsp ginger
  • 1/4 tsp. cloves
  • 1-2/3 cup evaporated milk or light cream (I use milk)

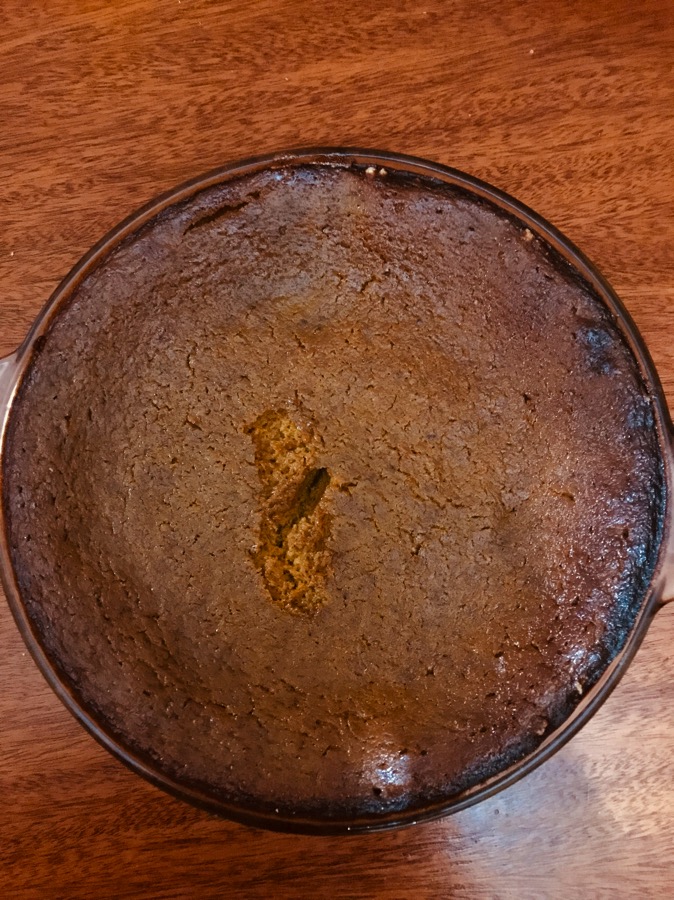
Add all ingredients together in a blender and blend until smooth. Pour into a deep 9 or regular 10 inch pie crust. Bake at 350° for approximately an hour or until a knife inserted in the center comes out clean.

IMG 4468

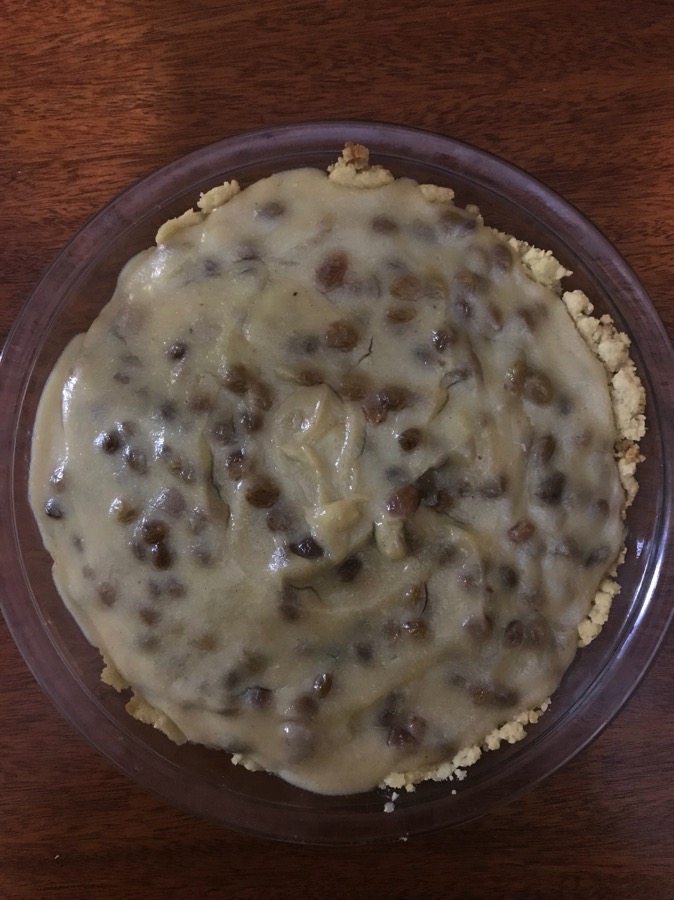
Sour Cream Raisin Pie is, hands down, my favorite pie ever. I’ve had people say it sounds gross and then fall in love once they tried it. The one and only time I ever won a cooking contest was with this pie recipe.

Sour Cream Raisin Pie

  • 1 baked pie shell
  • Wash 1 cup raisins
  • Add 1 cup water
  • Boil together for 5 minutes
  • In a separate bowl mix together:
  • 1 cup sugar
  • 1 cup sour cream (can use yogurt)
  • 3 level tbsp corn starch
  • 1/4 tsp salt
  • 2 eggs

Pour sour cream mixture over boiled raisins. Cook until thick, stirring constantly (only a few minutes). Pour into baked shell and cool.

IMG 4287

A couple weeks ago I posted a recipe that I love for white cake. Someone asked me if I know of a good recipe for chocolate cake.

Chocolate cake is trickier. I’ve tried loads of recipes and finally come down to one or two I really like.

For one thing, chocolate cake needs to taste chocolatey. Many of the recipes I tried weren’t quite chocolatey enough.

For another thing, chocolate cake can be even drier than white cake. It’s easier to over-bake. Good, moist chocolate cake is hard to come by in the recipe world. 

A third problem I’ve found is that good chocolate cake can be complicated and time consuming. You have to melt the chocolate in a double boiler. You have to beat the cream until stiff peaks form. You have to fold these ingredients in together, little by little. You have to do it just right or the cake won’t rise.

I just don’t have time for that.

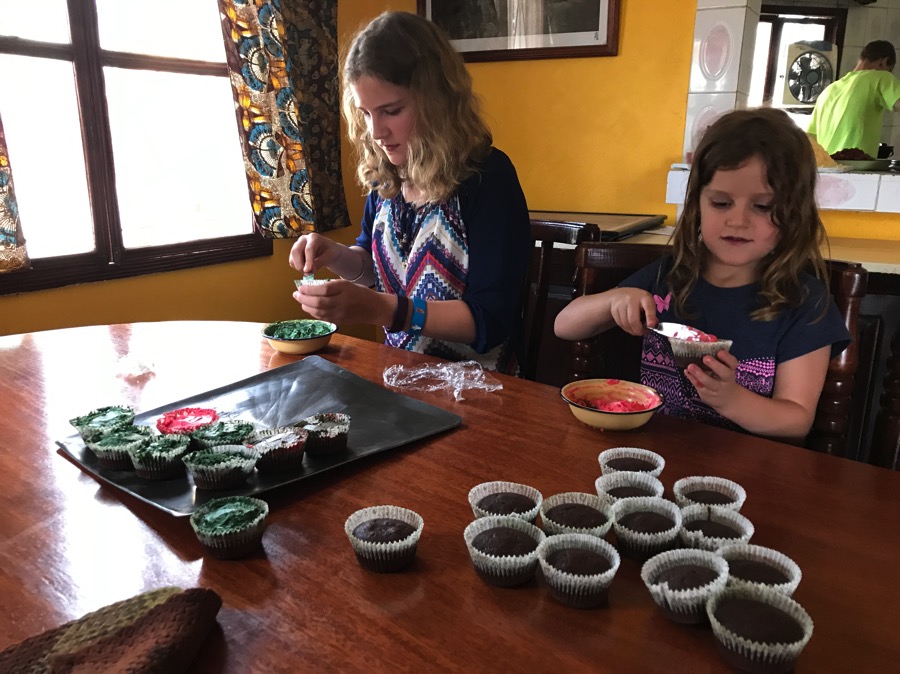
Here is the recipe I like to use for chocolate cake. It’s found in the same Betty Crocker cookbook. It’s not complicated at all. It turns out moist and yummy every time (unless I burn it, but the kids eat it anyway. 😀 ).

IMG 4285

Cocoa Fudge Cake (from the 1972 Betty Crocker Cookbook)

  • 2 cups cake flour OR 1-2/3 cups all purpose flour
  • 1-1/2 cups sugar (I use half)
  • 2/3 cup cocoa (You can add as much as 1 cup if you want even more chocolate flavor!)
  • 1-1/2 tsp baking soda
  • 1 tsp salt
  • 1-1/2 cups buttermilk (Do not substitute regular milk. The cake will be dry. You can substitute yogurt.)
  • 1/2 cup shortening (I use palm oil)
  • 2 eggs (1/3-1/2 cup)
  • 1 tsp vanilla extract

Grease and flour baking pans 13×9 or 2 round layer pans 8 or 9-1/2 inches or line 18-24 muffin cups.

Measure all ingredients into mixer bowl. Blend on low for 30 seconds or until all ingredients are moistened, scraping occasionally. Beat 3 minutes on high speed, scraping bowl occasionally. Pour into pan(s).

Heat oven to 350º. Bake oblong 35-40 minutes, layers 30-35 minutes, or cupcakes 20-25 minutes until toothpick inserted in the center comes out clean. Cool. Frost or decorate as desired.

Chinese food — American Chinese food — is comfort food. There almost isn’t a time when it doesn’t sound good to me. I could eat it several times a week and not get tired of it.

So imagine my surprise and horror when I arrived in Uganda and discovered…there was no Chinese food!!! Sure, you can get Chinese food in Kampala, but that is over 4 hours away and we go there less than once a year.

Thankfully, we’d prepared ahead. I’m kind of a cookbook junky. We’d found a fantastic Chinese cookbook called Enjoy Chinese Cuisine. I’d practiced several of the recipes in it. The only caveat is that it’s quite time consuming to prepare our favorite dishes. Still, when you think about it and crave it all the time, it’s worth taking the time to fix that special food you enjoy.

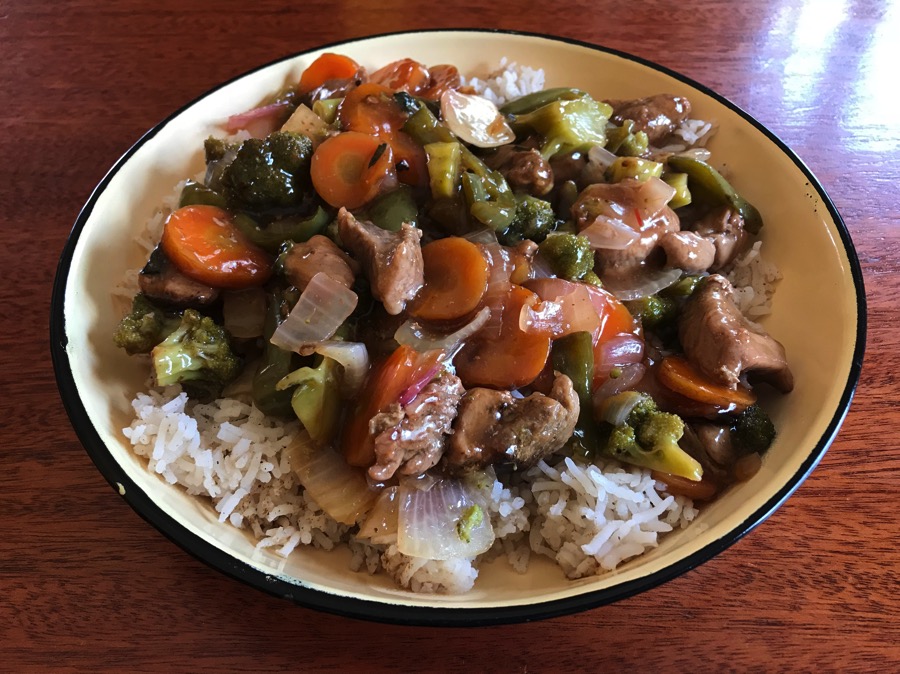
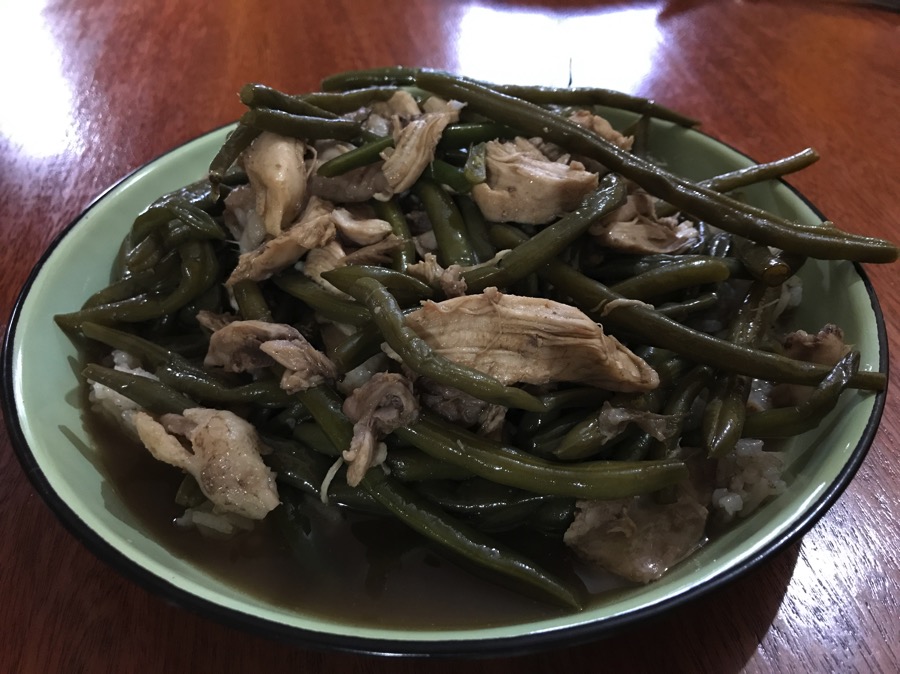
One of my favorites is String Bean Chicken from Panda Express. It’s also one of the faster ones to prepare. We’ve found ways to adapt it using the ingredients we can get here. The family loves it. Tonight I made a 7 quart pot of just the string beans and chicken (2 kilos) and it was all gone. They might have licked the pan. 8 cups of rice was also devoured by these ravening hoards.

This recipe is one I found online years ago but I’ve tweaked until it tastes the way we like it. I’ll note my changes in parentheses and in a note at the end. 

IMG 4238

String Bean Chicken

  • 2 T soy sauce or liquid aminos (I use 3-4 T)
  • 2 tsp rice wine (I use 3-4 T vinegar)
  • 1 tsp sesame oil
  • 2 tsp corn starch
  • 1 tsp sugar (optional)
  • 2 T vegetable oil (I use coconut or palm oil)
  • 1 cup onion chopped or sliced
  • 2 T minced garlic
  • 1 tsp black bean sauce (optional; I prefer it without)
  • 12 oz. green beans, fresh or frozen
  • 1 pound cooked, sliced chicken breasts
  • 1/4 cup water

Saute the onion, garlic, and green beans in the oil until tender. Add the soy sauce, rice wine, and sugar. Mix the corn starch in the water until dissolved and pour over the other ingredients. Heat until thickened. Toss in the cooked chicken pieces and toss to coat with the sauce. Add the sesame oil before serving over rice.

Note: I prefer to add more water than it calls for. I usually add equal parts water, vinegar, and soy sauce so we have plenty of liquid to put over the rice. You can also use boneless skinless thigh pieces and it tastes good. (I prefer dark meat.)

Let me begin by saying that I’m good at many things.

Cake decorating is not one of them.

I grew up in a family full of women (and maybe some men!) proficient at cake decorating. My sister decorates beautiful wedding cakes and gets paid to do it. Whenever cake decorating needed to be done around our house, I happily sat back and let my mom and sister do all of it. I had no desire to even try. I should have been paying better attention.

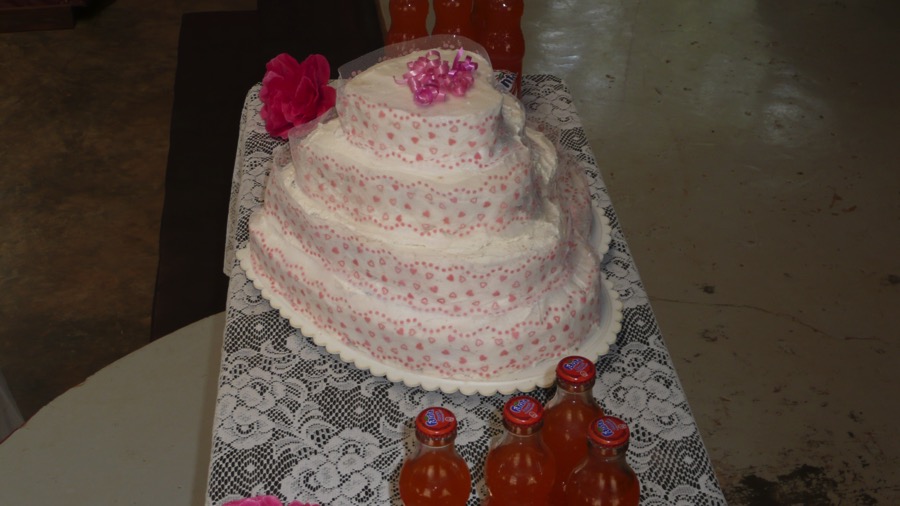
We hadn’t been in Africa very long before I needed to make a wedding cake. My husband graciously volunteered me for the duty, then told me about it afterward. I didn’t even own cake pans. I cobbled something together with the help of one of the other missionary wives. Everyone raved about how it tasted, and no one complained about how it looked. Honestly, it could only get better from that point on in my cake decorating career. (That is lace wrapped around each layer and curly ribbon on the top.)

2011 05 07 14 42 02

We had many people who wanted to get married at the refugee camp and wedding cake is an expected tradition here. Each time we had a wedding, we worked out a compromise. I baked the cakes and our coworker’s wife decorated them.

Then, horror of horror, we needed to have a wedding when our coworkers weren’t here! It was time for me to step up and try my hand at it once more. My sisters had given me cake pans and a set of decorating tips. The rest was up to me.

2015 02 08 08 15 04

2016 02 13 19 36 31

2016 02 13 20 33 35

I’ve learned a lot about decorating in the last few years and even had my sister teach me how to do basic embellishments while we were on furlough. She was kind in the face of my bumbling. She didn’t go back and fix anything when I was around. 😉

Gaelin requested a character cake for his birthday a couple years ago and I gave that a whirl.

IMG 1047

It turned out okay, though Batman’s nose is a little odd and one eye is bigger than the other. Gaelin was pleased, then told me he wanted my sister to make the exact same cake for him for his next birthday and see which one of us did a better job. 

I was not amused. I told him there was no question of who was better – my sister always will be.

Now I’m going to share the recipe for the cake our church people like to say is the best cake they’ve ever eaten. I’m not a cake fan but even I like it. It doesn’t take much longer than a cake mix to pull together and you don’t get all those terrible preservatives found in a mix. Hope you try it and enjoy it as much as we do!

Golden Layer Cake (from the 1972 Betty Crocker Cookbook)

  • 2-1/4 cups cake flour
  • 1-1/2 cups sugar (I use half because it’s too sweet if I use the full amount)
  • 1 T. baking powder
  • 1tsp. salt
  • 1/2 cup shortening (I use palm oil)
  • 1 cup milk or water
  • 1-1/2 tsp. vanilla extract
  • 2 eggs (1/3 to 1/2 cup)

Heat oven to 350º. Grease and flour baking pan, 13x9x2 inch or 2 round layer pans, 8-9 inch. Measure all ingredients into large mixer bowl. Beat 30 sec. on low speed, then 3 min. on high speed, stirring and scraping the bowl occasionally. Pour into pans.

Bake oblong 40-45 min., layers 30-35 min., or until a toothpick inserted in the center comes out clean. Cool. Remove from pans. Frost or decorate as desired.

Finally!

As promised!

The pasta sauce recipe I use!

This sauce is delicious. I eat a little pasta with my sauce if I can get away with it. I got this recipe from Sandy Panagos years ago in a cookbook she helped put together for me as a wedding present.

Pasta Sauce

  • 3T oil
  • 2 cloves (or more) garlic (I use the whole bulb in my stockpot full of sauce.)
  • 1 pound ground beef (omit if you are making pizza sauce)
  • 1/2 c. chopped onion
  • 1/2 c. green peppers (not in original recipe, but we like green peppers in our sauce)
  • 28oz. can diced tomatoes
  • 6 oz can tomato paste
  • 15 oz can tomato sauce
  • 1/2 tsp. oregano
  • 1/2 tsp. basil
  • 1 tsp. salt
  • 1/2 tsp pepper (I omit; I don’t like the flavor of pepper in my sauce.)
  • 1 T. sugar (I omit; fresh tomatoes have enough sweet to offset the bitter you get from cooking them. That said, if my sauce is coming out bitter, I add some sugar to taste.)
  • 1 T. dried parsley

Brown garlic, onion, green peppers, and beef in oil. Add remaining ingredients. Simmer until thick. Serve with 14-16oz package cooked noodles of choice.

This is fairly self explanatory, though what foodie post would be complete without pictures?

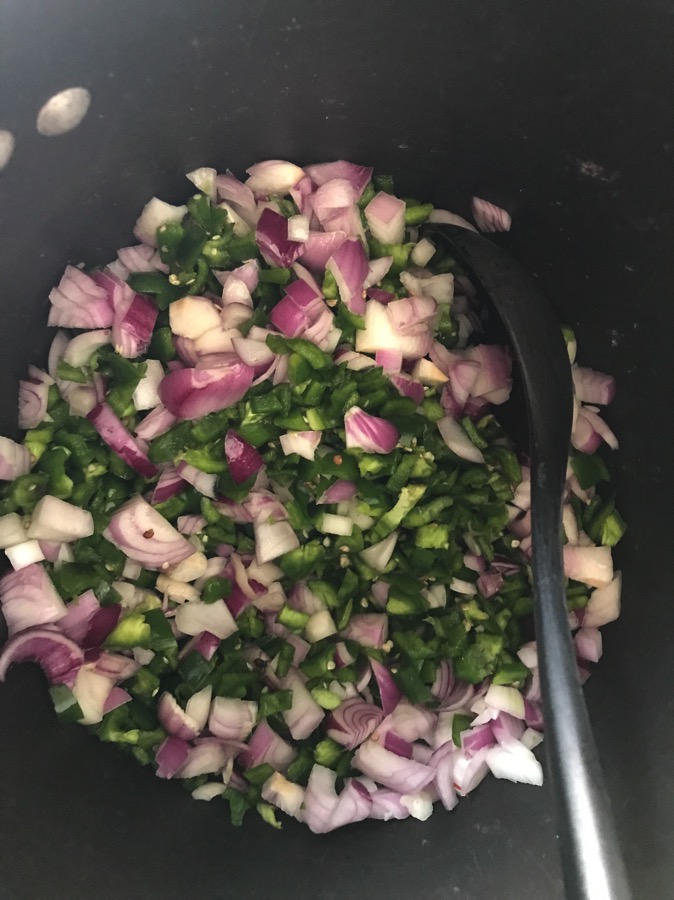
I cook my onions and green peppers until they are done. This only takes a few minutes. It takes longer to cut them up than it does to cook them. Sometimes I add my spices to this mixture and sometimes I add them with the tomatoes. It depends on if I’m using fresh or dried spices (fresh I run through the blender with the tomatoes).

IMG 3925

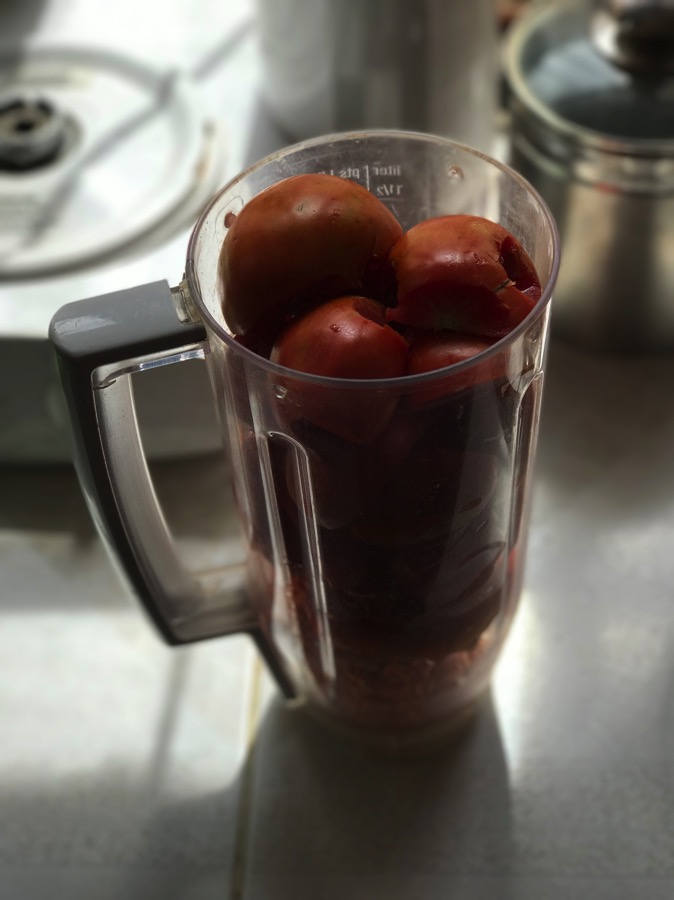
I usually run the garlic cloves in the tomatoes. I used to use a press for it all the time, but when you are pressing a bulb at a time, this gets tedious.

IMG 3928

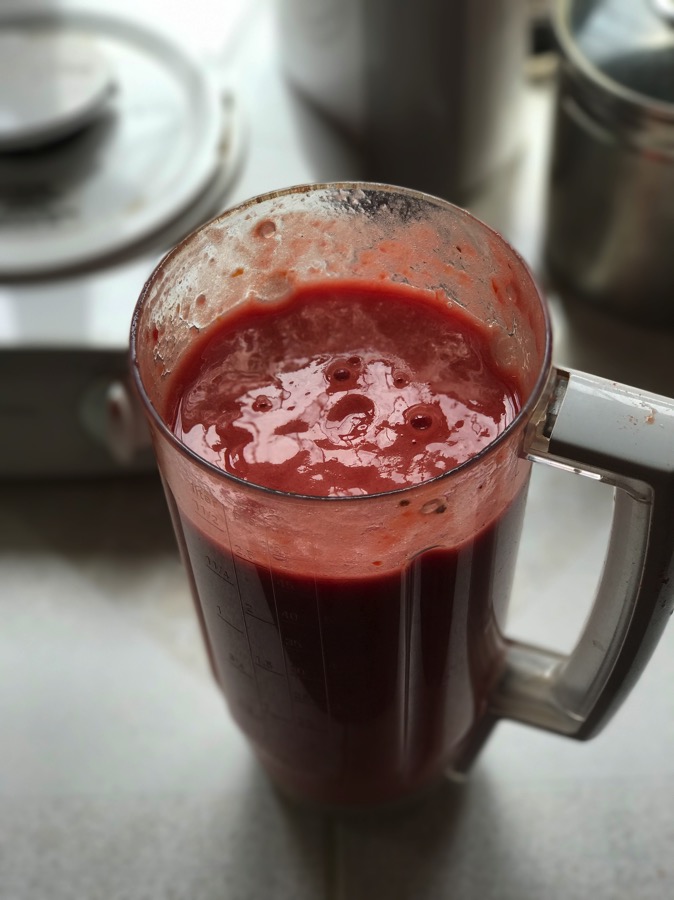
I don’t seed or peel the tomatoes since I’m freezing it. It doesn’t seem to change the texture or flavor at all. I’ve read that you’d need to do both if you were to can it. Also, we can only get Roma tomatoes here. They tend to have a lower water content and tender skins so that might also make a difference.

IMG 3930

I leave my tomatoes a tad chunky since that’s how I like it. 😉

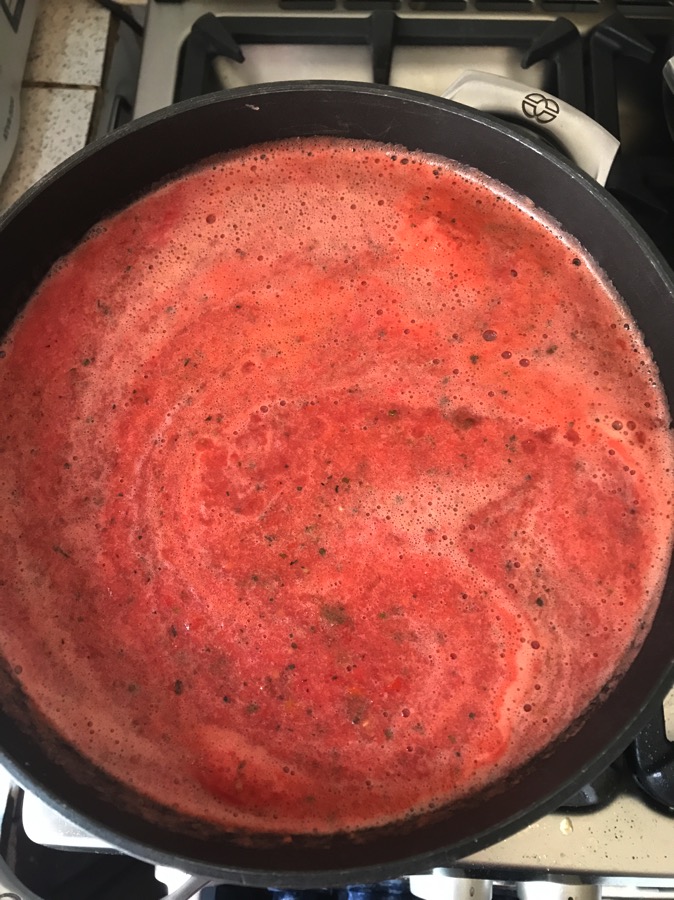
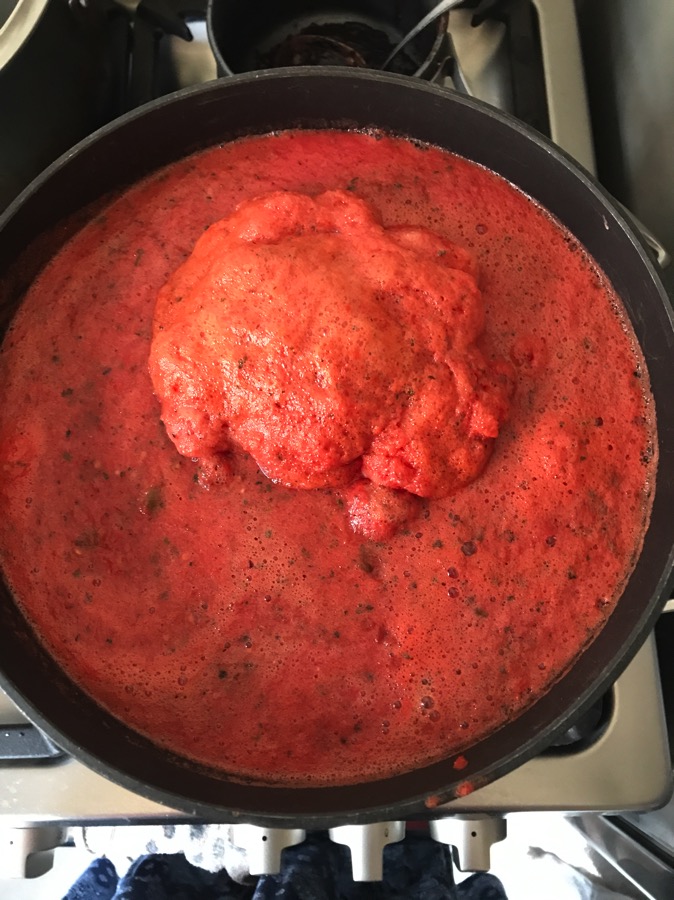
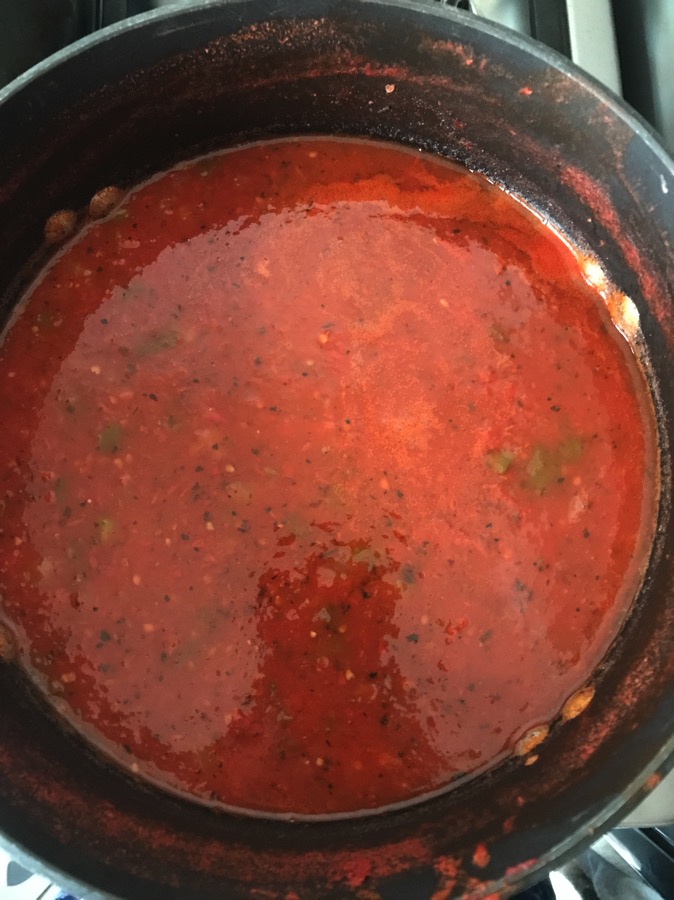
Once the pan is full you let it simmer for a couple hours. First it looks like this:

IMG 3933

light red, bubbly, thin. 

As it cooks, the bubbles turn to foam.

IMG 3934

It’s getting there, but it still isn’t quite done. Just keep simmering and stirring.

IMG 3935

The finished sauce is deep red (even without food coloring), thick, and fragrant.

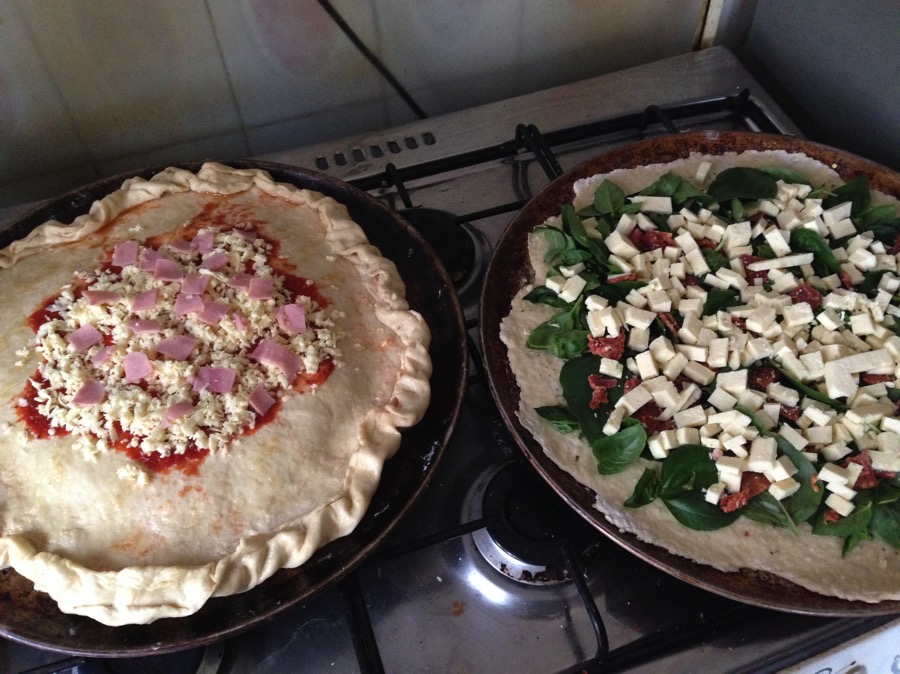
Now you’re ready to top your pizza! (Or you can just eat the sauce out of the pan with a spoon. That’ll work, too. 😉 )

2014 06 06 17 44 43

Find the crust post here and the first part of the sauce post here.

Months ago, I posted about pizza crust. I promised I would follow up with how to make our homemade sauce. Afterward, it occurred to me that, in order to properly post about the sauce, I would need to be back in Africa so you, dear reader, could get the full effect of our process for getting sauce.

Pizza sauce for us is more than just a delicious recipe, though that is an important part of it. It’s also about the acquisition of the ingredients, the proper processing thereof, and then cooking it all until it tastes just right. 

Years ago, when my kids were small and I’d make homemade pizza, I’d just buy sauce at the grocery store. I wasn’t convinced that homemade sauce could taste as good as store-bought.

Then we moved to Uganda. An 8-oz. jar of pasta sauce cost almost $10 and I knew we’d need at least two of them to make pizza for our family if I skimped on sauce. At first I “cheated” and used tomato paste and herbs to make a sort of sauce that we used for pizza sauce. It was cheaper than using the ready made pasta sauce but it was easier than making sauce from scratch. The canned tomato paste here has a strong metallic flavor. The more I used that method for sauce, the less I liked the flavor of the sauce and the more I could taste the metal. 

So I pulled out my trusty family cookbook — a treasure that was given to me as a wedding present, with recipes from family and friends all over the world (It’s my go-to recipe book for almost everything). Inside, I found a pasta sauce recipe given to me by Sandy Panagos, a dear friend who’d been almost like a second mother when I was growing up. Years ago, I insisted that her sauce had come out of a bottle and she insisted it didn’t. One day, when we were doing school at her house (that tells you how long ago it was!), she made her signature sauce. I still could hardly believe that something that tasted that good didn’t come out of a bottle. (Oh! how naive I was!) She included the recipe for me in the family cookbook.

Yes, her recipe includes cans of processed tomatoes. I can get canned tomatoes here in Uganda, but one can costs as much as enough fresh tomatoes to make quadruple her recipe. So I use fresh tomatoes instead of canned.

It starts like this:

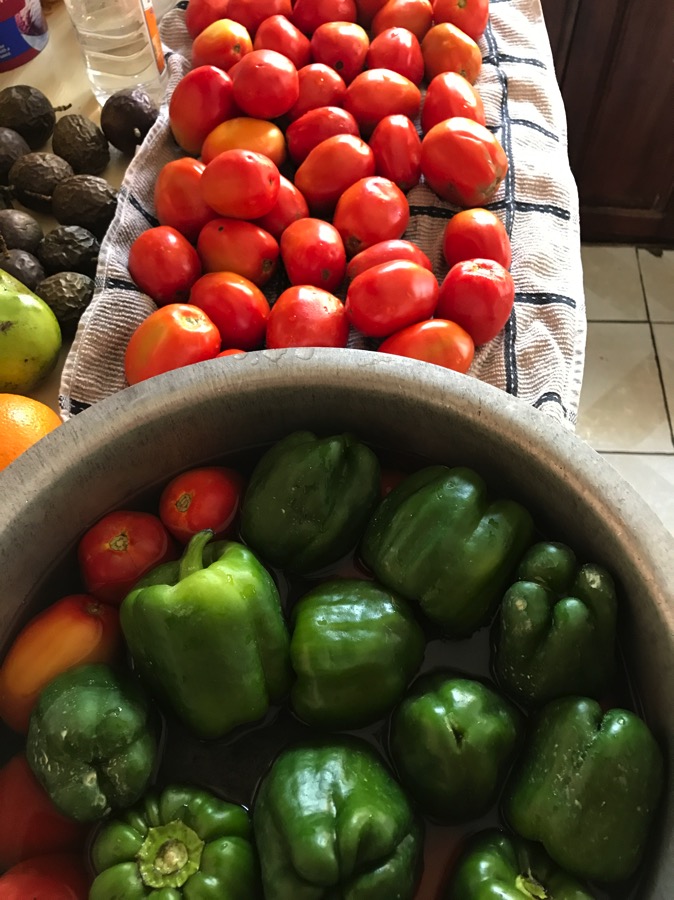
I go to the Wednesday market to buy produce and buy a large basin of tomatoes. They cost anywhere from $3-5 depending on the season. (The large basin holds around 20 pounds of tomatoes.)

IMG 3811

(You can see a large basin of tomatoes to the right in the above picture.)

I then bring them home and wash them. We sterilize all our produce in our drinking water and disinfectant. It’s a long, drawn-out process. Honestly, I don’t miss this step when we visit the US — where you can wash your produce in tap water and don’t have to worry about getting intestinal parasites or e-coli from it. The wash water from our produce here turns brown and has a layer of dirt in the bottom of the pan, so I’m happy to do this step in the process.

IMG 3824

Once that step is finished, I can refrigerate the produce until I’m ready to make the sauce. 

I know most books about preserving vegetables say you must peel and seed your tomatoes. The skin and seeds change the flavor, especially if you are canning them. I’m not canning them, so I skip this step. I’d make some flippant comment about being too lazy, but the whole process is already so time consuming that the peeling/seeding step would take it from being doable to being a tedious, miserable chore. There are a couple adjustments I make when I cook it, but more about that later.

When my sauce comes out and looks like this:

IMG 3830

thick, red, flavorful, I could just eat it out of the pan with a spoon. It’s so good. Sandy Panagos was right. A good homemade sauce is far better than anything you can get from the store!

(I promise to share the recipe when Part 2 continues!)

Pizza has been a Huckabee family tradition since…well, for so long I can’t remember it not being a tradition. We have only rarely missed our weekly pizza night, usually through no fault of our own.

When we were in New York City, we found a true New York style pizza place, complete with brick oven and homemade cannoli for dessert. It was walking distance from the 9/11 Memorial.

IMG 2325

As we ate, John* said, “This tastes just like the pizza we make.” 

“That’s because we prefer New York style pizza,” James answered.

The first time we had New York style pizza was in 2006, the last time we went to New York City. We took the subway over to Brooklyn and found a tiny little hole in the wall pizza place run by a Russian man who, once we’d finished eating, stuffed a brown paper bag with donuts from his pastry shop next door and sent them with us “for the children”. How the kids loved those donuts that had been squashed on the return trip!

We adapted our pizza recipe to be more like the pizza we’d eaten that day. We’ve done that ever since.

The key to any pizza style is the crust. St. Louis style pizza crust is cracker thin. Chicago style is pan pizza thick, in some cases known as “deep dish”. Sometimes you need a fork to eat it. New York style is in between, a perfect blend between crust and toppings.

This is the crust recipe we use. I know there are countless others out there. Personally, I like this one because of it’s simplicity and adaptability. We’ll get to that in a later post. This recipe was given to my family of origin years ago so it is not original with me.

Pizza Crust

(makes three 14 inch crusts)

  • 2 cups water (can add up to 1/3 cup more if needed)
  • 2 TBSP oil
  • 1 TBSP yeast
  • 2 tsp salt
  • 6 cups flour (or enough to make the proper consistency of dough)

Just dump all the ingredients together and mix until the dough forms a ball that is easy to work with.

You don’t want it so moist that it clings to your fingers and the rolling pin, and you don’t want it so dry that it crumbles apart. I usually add 5 cups of flour and begin mixing, gradually adding the sixth cup until the consistency is correct. It’s okay to use more than 6 cups of flour. You want it to form a smooth, pliable lump.

Divide the dough into three balls. Flour the countertop and place a ball in the center. Flour the top of the ball. Begin rolling into a circle the size of the lightly greased pan you will use. (At normal altitudes you might not need to grease your pan. In Africa, at 5,000 feet, we have to grease it or the crust will stick. Sometimes it sticks anyway.)

For St. Louis style crust divide into 4 balls and bake them for a few minutes to keep them from rising. Let them cool before adding toppings. For Chicago style, place the crust into a deep greased pan and allow to rise for a few minutes before adding the toppings.

Still to come…Homemade sauce and how to top these masterpieces.

(*John is my pizza making right hand man. He knows almost as much about making our pizza as I do, so much in fact, that he can do the entire process on his own without my help.)